To get started, take a look at the plans available first:
https://openvpn.net/cloud-vpn/pricing/
If you’re using 3 or under devices, the free tier is fine, and you don’t need to give them a credit card. The free tier even includes technical support.
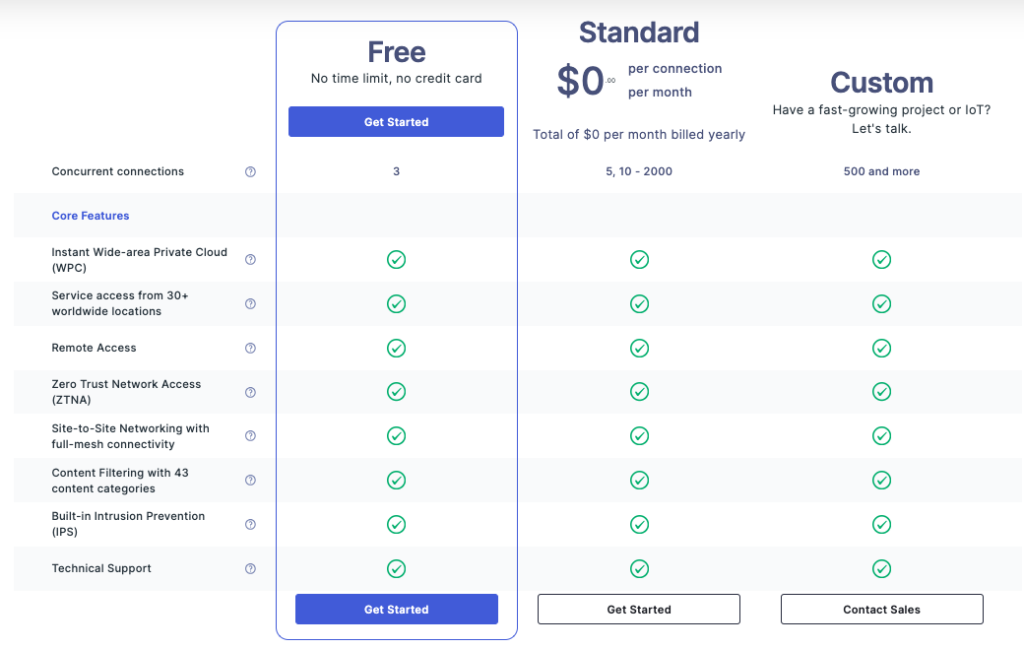
Now compare CloudConnexa versus Access Server
https://openvpn.net/product-comparison/
If you’re looking to have complete control over configuration, choose CloudConnexa. Set up an account for free and it’ll assign a unique URL to connect to.
Download the client. In this case, for Mac. https://openvpn.net/client-connect-vpn-for-mac-os/
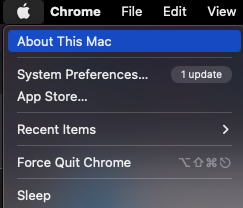
Choose Intel or Silicon. If you don’t know which you have, click the Apple icon in the upper left of your screen. Select About this Mac
Now you’ll see your OS version – Monterey in this case, and the fact that this is an Intel Mac.
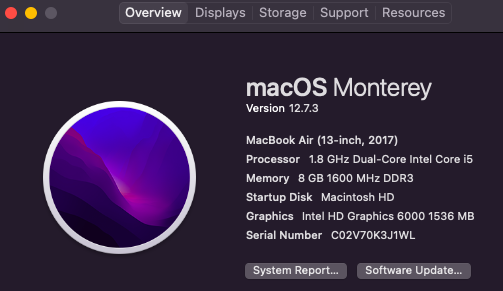
Select the installer for Intel.

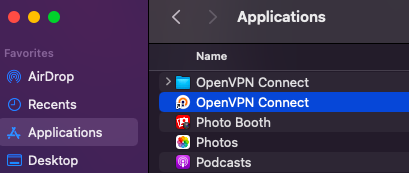
Launch the OpenVPN application from Applications > OpenVPN by double-clicking.
It will have you type in the URL of your CloudConnexa account. Enter your password, and you’re up and running.