If you’re using Lemlist for cold email outreach, your sender reputation and deliverability heavily depend on how you manage your sending email addresses. Whether you’re building a new campaign, rotating inboxes for better deliverability, or managing outreach for multiple clients, knowing how to add a new sending email address in Lemlist is crucial.
In this guide, we’ll walk you through:
- ✅ How to add a new sending email in Lemlist
- 📊 A breakdown of how many sending email addresses are allowed per subscription tier
- 💡 Pro tips to optimize inbox rotation and domain warming
✅ How to Add a New Sending Email Address in Lemlist
Follow these steps to connect a new sending email address to your Lemlist account:
1. Log into your Lemlist dashboard
Head to app.lemlist.com and log in with your main account.
2. Navigate to SendingSettings
Click on your profile icon in the bottom-left corner of the screen, then choose Sending Settings > Email
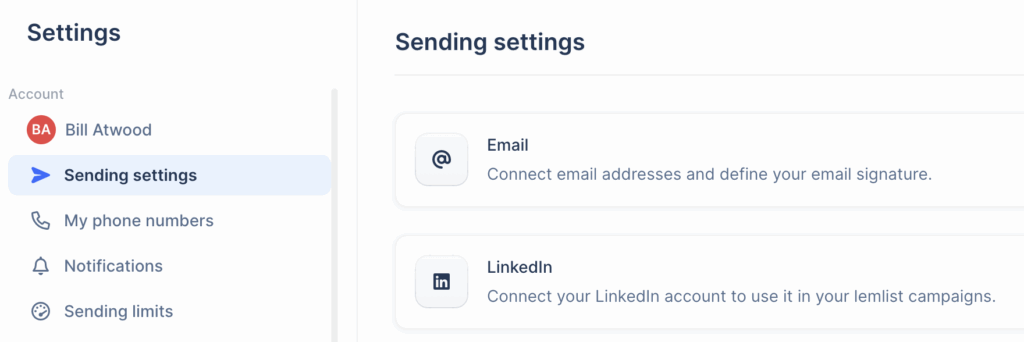
3. Click Connect email address
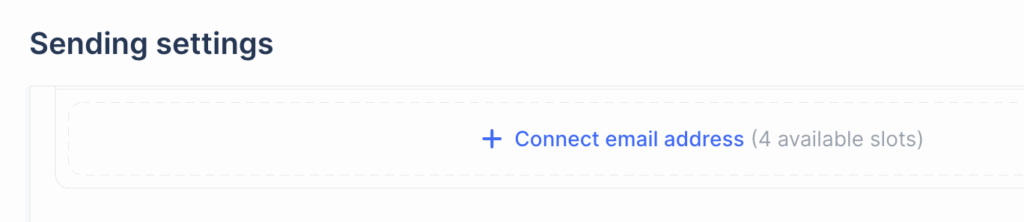
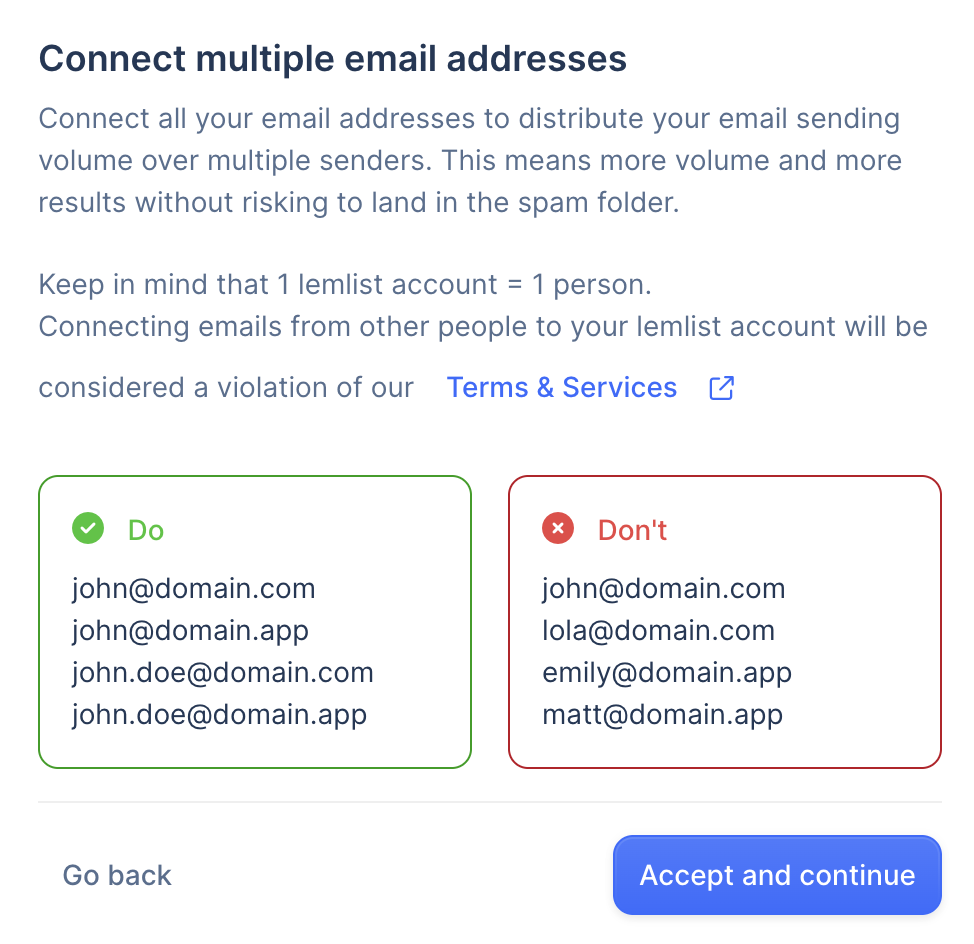
Note that one user license can have multiple domains, but not multiple names. A separate name (person) requires another license.
4. Choose your email provider
lemlist offers easy one-click integrations with the most common providers:
- Google (Gmail or Google Workspace)
- Outlook/Microsoft 365
- SMTP/IMAP (for custom email setups) – *note if using SMTP/IMAP, click advanced settings
5. Authenticate your account
Follow the prompts to connect and verify your email. Lemlist may request permission to manage and send emails on your behalf.
6. Configure your sender settings
After connecting, you’ll be able to:
- Set a sender name
- Choose a signature
- Set daily sending limits
- Enable email warm-up (if available in your plan)
Once saved, your email address is ready to be used in campaigns.
📊 How Many Sending Email Addresses Can I Add in Lemlist?
The number of email accounts you can add depends on your Lemlist plan. To see all of the options, go to the pricing page: https://www.lemlist.com/pricing?r=0
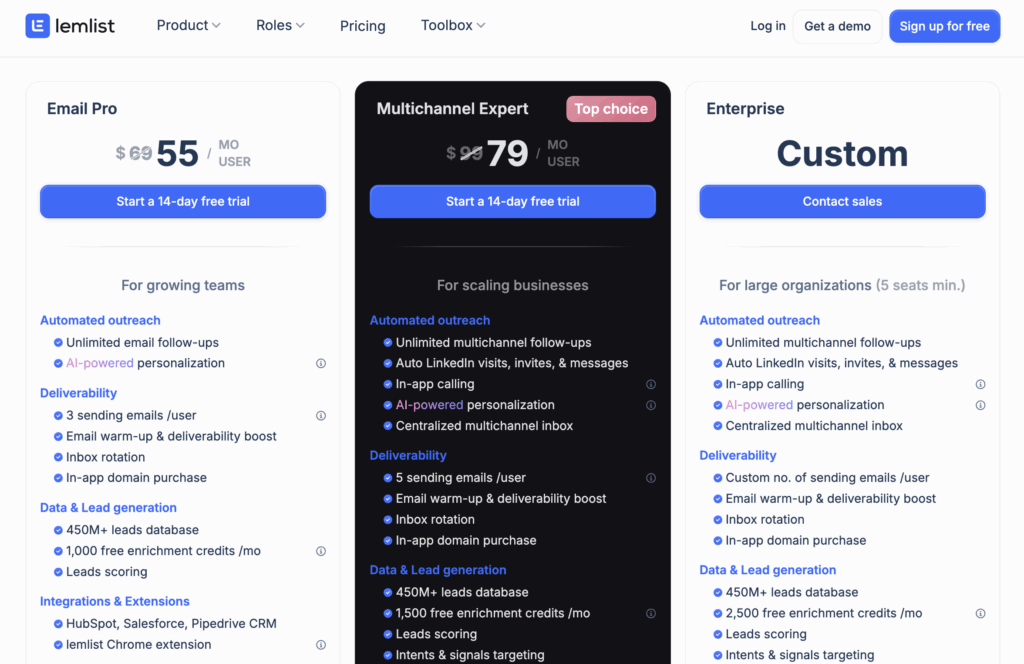
💡 Note: Additional email slots can usually be added à la carte.
🔁 Pro Tips for Managing Multiple Sending Emails
- Warm up each inbox: Never start sending cold emails from a fresh domain or inbox. Lemlist offers automated warm-up, which gradually builds trust with email providers.
- Use inbox rotation: Spread campaign volume across multiple inboxes to avoid spam flags and rate limits.
- Monitor health scores: Regularly check your sending reputation and open rates inside Lemlist’s reporting dashboard.
- Segment by use-case: Use separate inboxes for lead generation, follow-ups, and partnerships to reduce risk across campaigns.
Final Thoughts
Managing multiple sending email addresses in Lemlist gives you flexibility and control, whether you’re scaling outreach, improving deliverability, or managing campaigns for multiple brands. With the right plan and setup, you can make your cold outreach smarter, safer, and more effective.