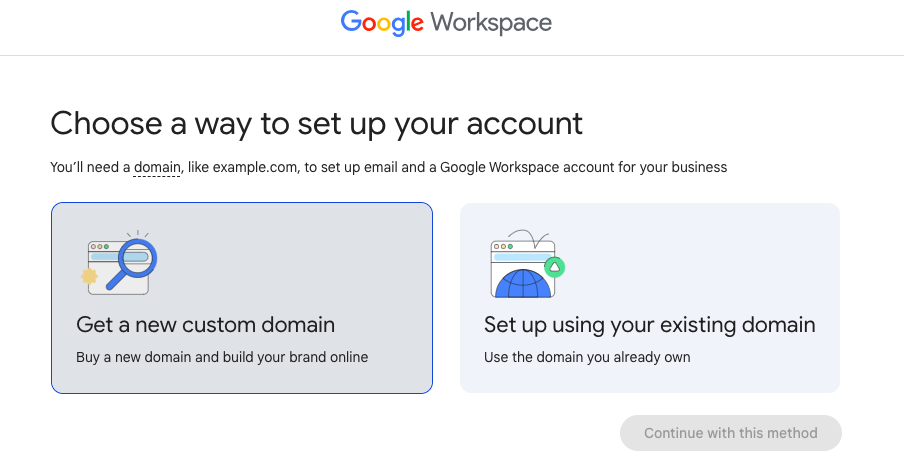
When you first create a login for Google Workspace, you have the option to get a new domain, or Set up using your existing domain.
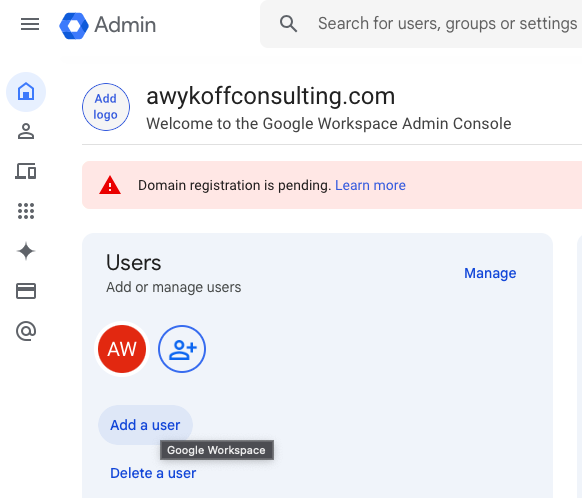
Once set up, you administer Google Workspace from https://admin.google.com/
You can also see your billing and subscription information at https://admin.google.com/u/1/ac/billing/subscriptions
If you want to view your payment history or update your payment info, visit your account by following the instructions below: Sign in to your Admin console at admin.google.com. If you have trouble signing in, refer to this help article. In the top left corner of your Admin console, click Main menu > Billing > Payment accounts. Click the account ID of your Google Workspace subscription.
If you want to see an alphabetical listing of how-tos by category, go to the InfiniteKB glossary page:
https://infinitekb.com/google-workspace-glossary
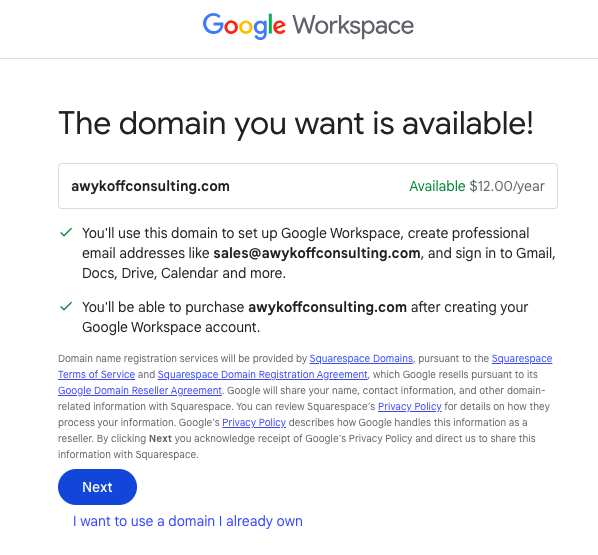
Let’s set up a new domain.
I’m setting up awykoffconsulting.com. You can check to see whether a domain is registered before this step by going to https://register.com, https://wix.com, or https://name.com and checking whether or not that domain is available or might be for sale.
A domain is $12.00 per year to host.
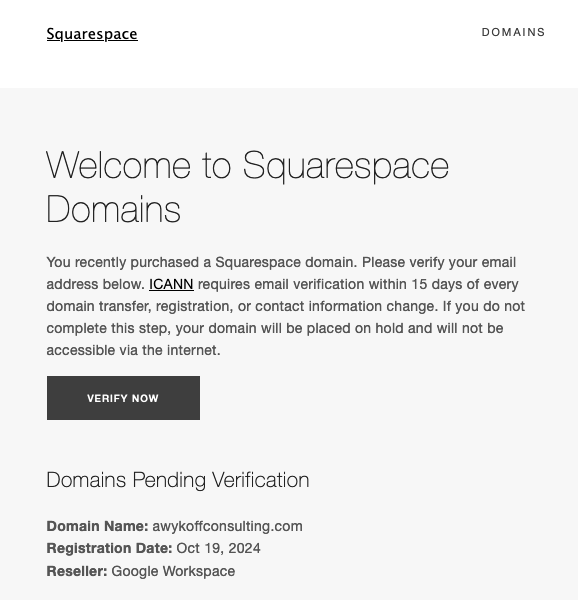
Once you’ve entered name, address, username and password, you’ll receive a confirmation notice
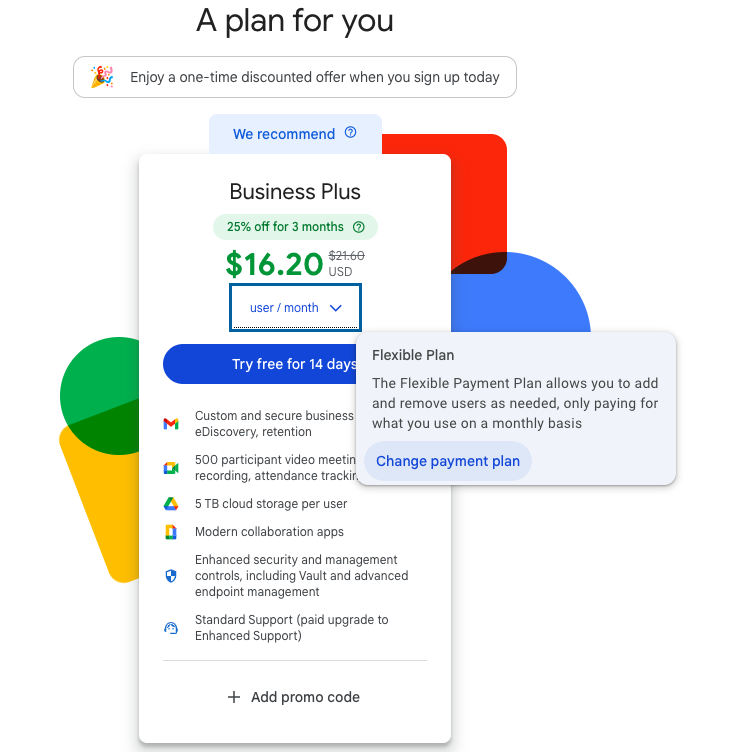
You’ll now be prompted to sign up for Google Workspace. It’s a good idea to compare plans here first: https://workspace.google.com/lp/business/
Note that Google Domains was sold to Squarespace, so you’ll see an email in your inbox that welcomes you to Squarespace Domains, and requires you to click Verify Now
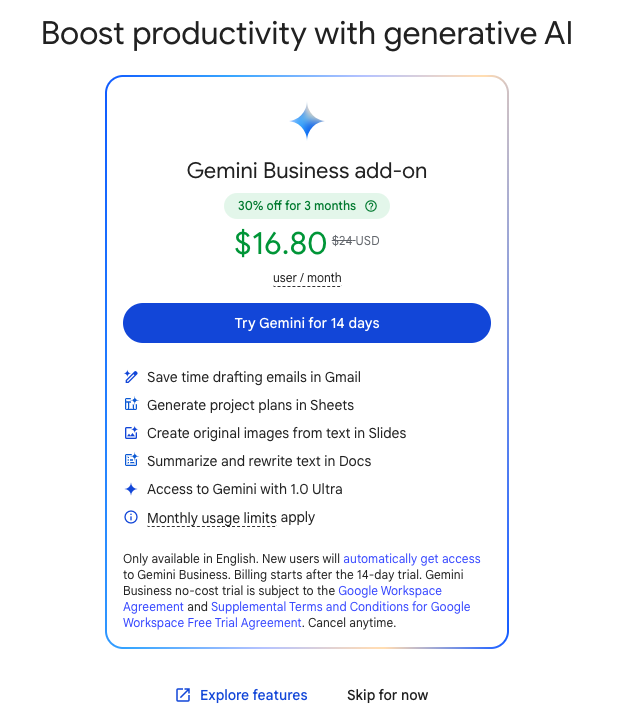
Click change payment plan if you want to change your payment plan.
Click skip for now if you don’t want to add Google Gemini to your plan
You’ll be prompted to set up features that come with your subscription
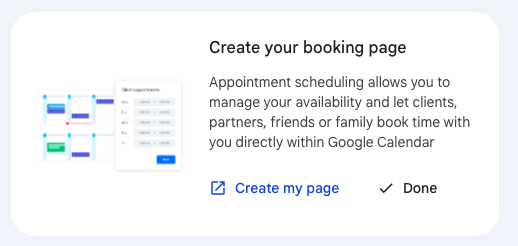
Let’s set up our booking page. This is how customers or internal employees can book time with you on your Google Calendar, which you can access from any browser at https://calendar.google.com/
Click Create my page
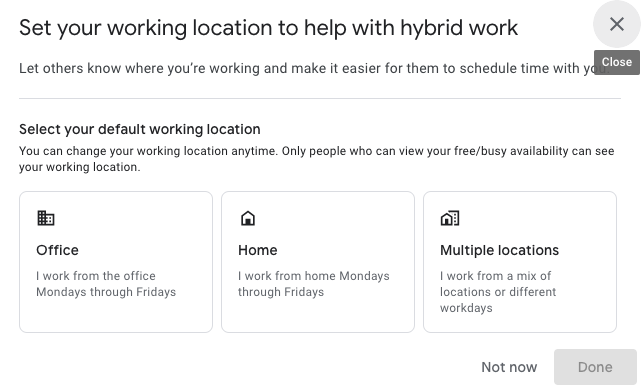
Select your work location
Select hours when you’ll be working. This will ensure that people don’t book your calendar for 4:00 a.m.
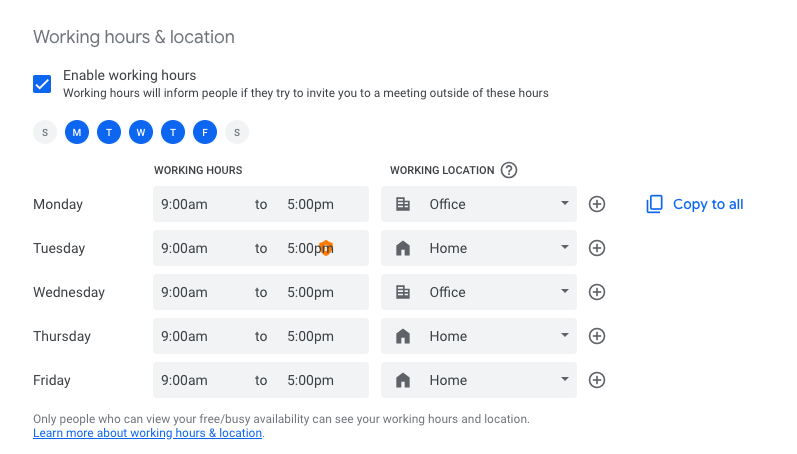
Now let’s set up your calendar booking page.
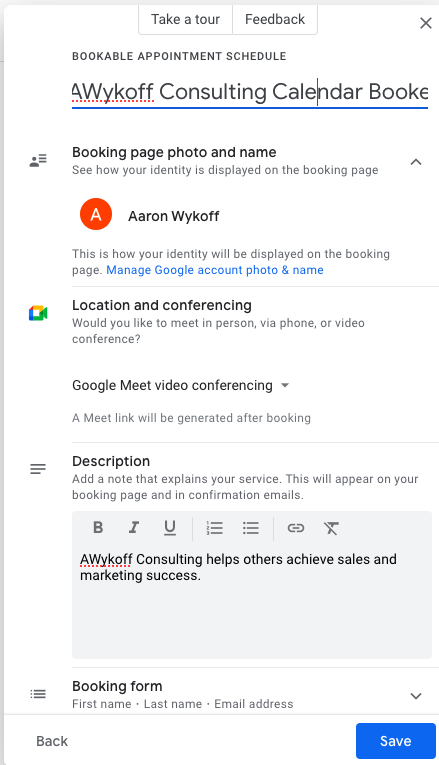
Once complete with your preferences, open your Booking page
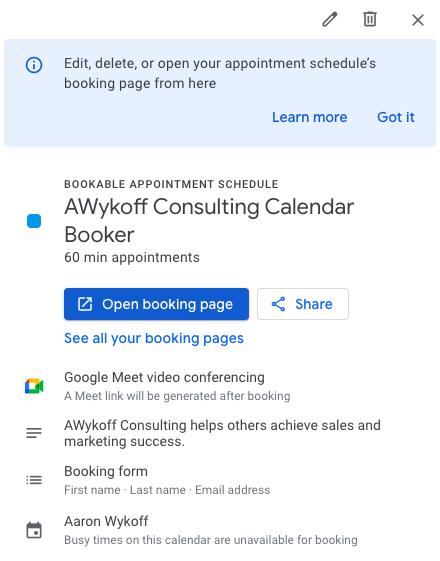
You can access your calendar from any browser at https://calendar.google.com/
Now let’s create a chat space
The direct URL is https://mail.google.com/chat/u/1/#chat/home
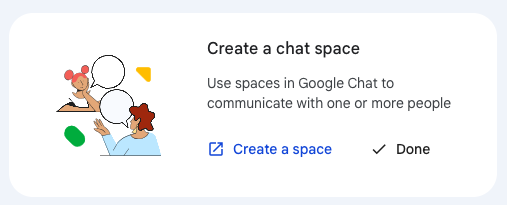
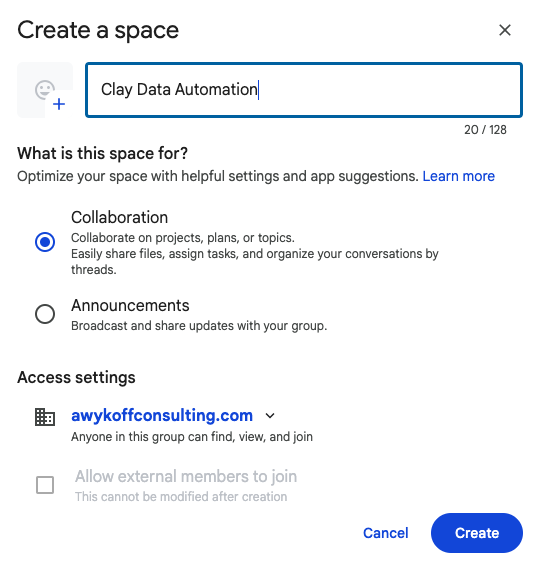
Create a new space. In this case, we’ll call it Clay Data Automation, and we’ll share automation tips using https://clay.com with our friends and neighbors.
Choose Collaboration or Announcements. Click create
Let’s go back to the admin console and add some users so we can add them to this new Clay Data Automation collaboration space. Go to https://admin.google.com
Click Add a User
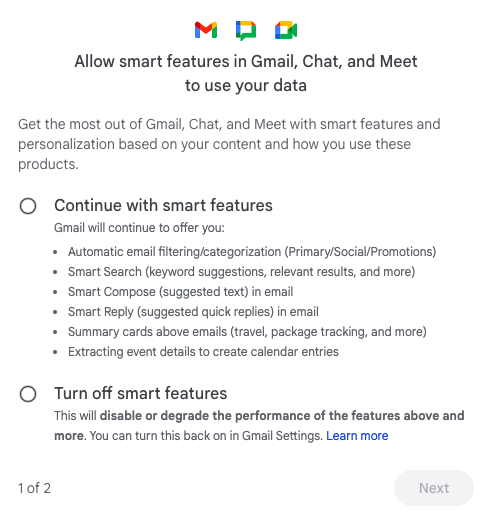
Now let’s go into Gmail. Go to https://mail.google.com/
Some of the smart features can be annoying, but smart compose and other features are certainly helpful. I recommend selecting that radio button.
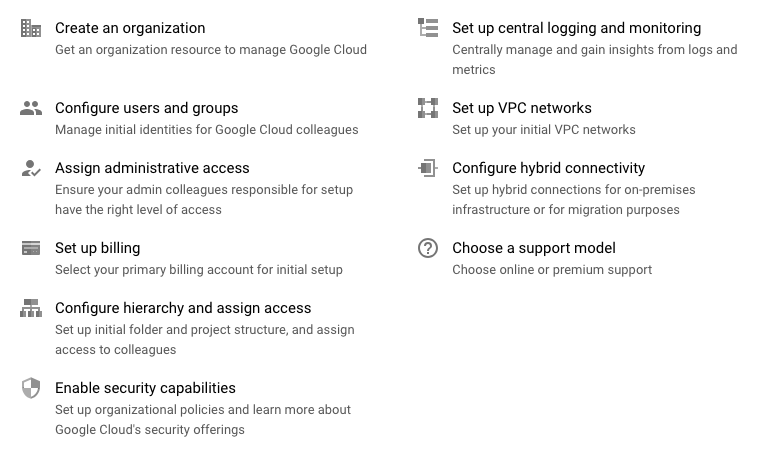
Now let’s go through the rest of the setup process.
https://cloud.google.com/docs/enterprise/setup-checklist

Google will then walk you through the following tasks:
Now verify your domain. See the documentation here: https://support.google.com/cloudidentity/answer/7331243
How this works
- You’ll copy a verification code from the setup tool.
- You’ll sign in to your domain registrar and paste the verification code in to the DNS records for your domain.
- Once your domain registrar publishes your verification code, we’ll know you are the owner of your domain.
You’re about to add a TXT record to the DNS settings at your domain registrar. This is the easiest method for most people.
If you prefer a different verification method, you can also use the setup tool to add a CNAME record at your domain registrar. To use CNAME as a verification method, click Switch verification methods when you open the setup tool.