LinkedHelper is a LinkedIn automation tool that helps with managing and scaling outreach campaigns on LinkedIn. It provides features for automated connection requests, messaging, profile visiting, and other types of engagement with potential leads, all while simulating human behavior to reduce the risk of being flagged by LinkedIn.
If you’re coordinating multiple campaigns on behalf of your clients, you’ll need a license for each LinkedIn account. As of November 2024, LinkedHelper offers two license options with the following costs:
- Standard License: $15 per month.
- Pro License: $45 per month.
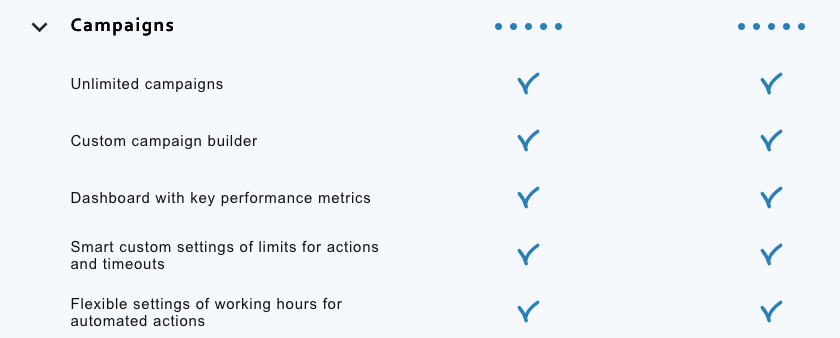
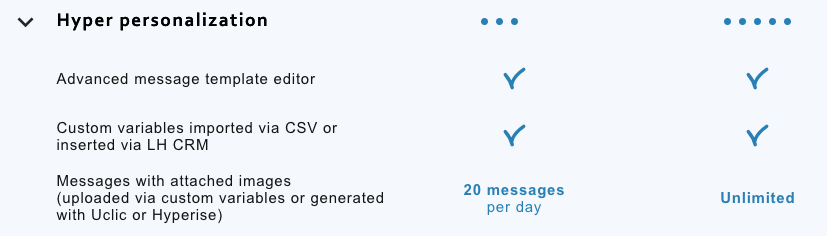
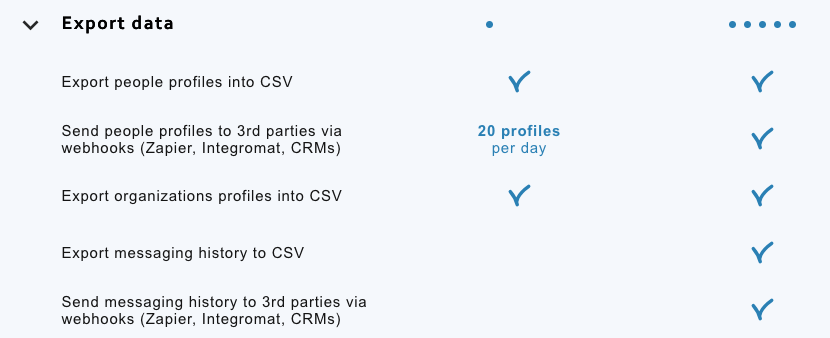
Both licenses include the same core features, but the Pro license offers higher limits and additional capabilities, such as unlimited messaging to event attendees or group members and exporting messaging history to CSV files. Discounts are available for multi-month subscriptions or bulk purchase.
Check the most recent pricing here: https://www.linkedhelper.com/pricing.html

How LinkedHelper Can Be Used for Managing Multiple LinkedIn Campaigns:
- Automated Outreach: Users can create customized campaigns that send connection requests, follow-up messages, and personalized sequences.
- Campaign Management: It allows for multiple campaign creation and management, where you can set different strategies for different target audiences or client needs.
- Lead Management: Users can import leads, segment contacts, and tag them for better organization across multiple campaigns.
- CRM Integration: LinkedHelper can be integrated with external CRMs to ensure contact data is seamlessly updated and tracked.
- Safety Features: The tool uses built-in delays and randomized intervals to mimic human activity, reducing the risk of LinkedIn restrictions.
Advantages of LinkedHelper Over Competitors:
- Customization and Flexibility: It offers extensive customization options for messaging and workflows, allowing highly personalized outreach.
- Cost-Effectiveness: Typically more affordable than some higher-end LinkedIn automation tools, making it attractive for small businesses or agencies managing campaigns for multiple clients.
- User-Friendly Interface: The tool is designed to be intuitive, with straightforward campaign setup and tracking.
- Browser Extension: Operates through a browser extension, which helps maintain the user’s LinkedIn login and session state.
- Effective Bulk Actions: LinkedHelper handles bulk actions efficiently, such as sending connection requests and follow-ups, saving time for managing large-scale campaigns.
Comparisons to Competitors:
- Lemlist and Similar Tools: While tools like Lemlist are highly effective for email outreach, LinkedHelper specializes in LinkedIn automation, offering more tailored LinkedIn-focused features.
- Octopus CRM: LinkedHelper often provides more comprehensive campaign management capabilities than simpler tools like Octopus CRM, which may have more limited functions.
- PhantomBuster: Though PhantomBuster is a powerful tool for automation across multiple platforms, LinkedHelper’s dedicated focus on LinkedIn provides deeper feature sets specifically for LinkedIn interactions.
- Dux-Soup: Both tools have similar core functionalities, but LinkedHelper generally offers more flexibility and granular campaign control.
Overall, LinkedHelper is valued for its robust automation features tailored for LinkedIn, flexible customization options, and cost-effective approach, making it suitable for agencies managing multiple client campaigns. **Note – if you are managing multiple campaigns for multiple clients, it is highly recommended to host LinkedHelper on a VPS server and assign a static IP address to that server. For hardware requirements, read the knowledgebase article: https://support.linkedhelper.com/hc/en-us/articles/360015376939-What-Linked-Helper-hardware-and-software-requirements-are#h_01J6YFMFDS17632WT0AEYAFVJ6 You’ll also want to set up an ISP proxy through Bright Data. See https://infinitekb.com/bright-data for the how-to.
Make Linked Helper Simulate Natural Human Usage By Configuring Working Hours
To schedule breaks and randomize actions in Linked Helper for simulating natural usage patterns, you can follow these steps, and read the documentation here.
1. Configure Working Hours
- Navigate to the Settings:
- Go to the “General Settings” section within Linked Helper.
- Set up the Working Hours:
- Define your working hours to ensure Linked Helper only operates during realistic timeframes, such as typical business hours (e.g., 9 AM–5 PM). Avoid running campaigns 24/7.
- Include Breaks:
- Use the “Pause during the working hours” option to schedule breaks. For instance, set a 15-minute break every hour or a longer lunch break.
2. Adjust Activity Limits
- Daily Limits:
- Set the number of actions (e.g., connection requests, messages) per day to a realistic number that simulates human usage, such as 50–100 connection requests or 100–200 messages.
- Hourly Limits:
- Adjust the actions per hour to mimic human activity rather than sending out actions in quick succession.
3. Use Delays Between Actions
- Enable Randomized Delays:
- In the “Delays between actions” section, specify a range (e.g., 20–60 seconds) rather than a fixed delay. Linked Helper will choose a random value within this range, making activity appear more natural.
4. Set Action Execution Order
- Mix Different Actions:
- Schedule tasks like profile visits, endorsements, connection requests, and messaging to happen in a mixed order rather than consecutively.
5. Include Randomized Pauses
- Enable Random Pauses:
- Configure Linked Helper to pause randomly after completing a certain number of actions. For example:
- Pause for 10–30 minutes after 20–30 actions.
- Configure Linked Helper to pause randomly after completing a certain number of actions. For example:
6. Monitor Campaign Logs
- Keep an eye on the campaign logs to ensure the actions performed align with your scheduling and randomization setup.
7. Test and Optimize
- Start with conservative limits and observe the impact on your LinkedIn account over time. Gradually increase limits if necessary, but avoid aggressive automation to minimize the risk of being flagged.
Would you like specific guidance for setting up these options in your current campaign?
Setup LinkedHelper
Watch this LinkedHelper tutorial to download the LinkedHelper client to your Mac or PC, and get everything set up. https://youtu.be/3y3vanKkpXQ?feature=shared
Set up the Bright Data proxy for your new client: https://infinitekb.com/bright-data
Once you’ve added your proxy to the new profile, click the play button to open the account you’re managing.

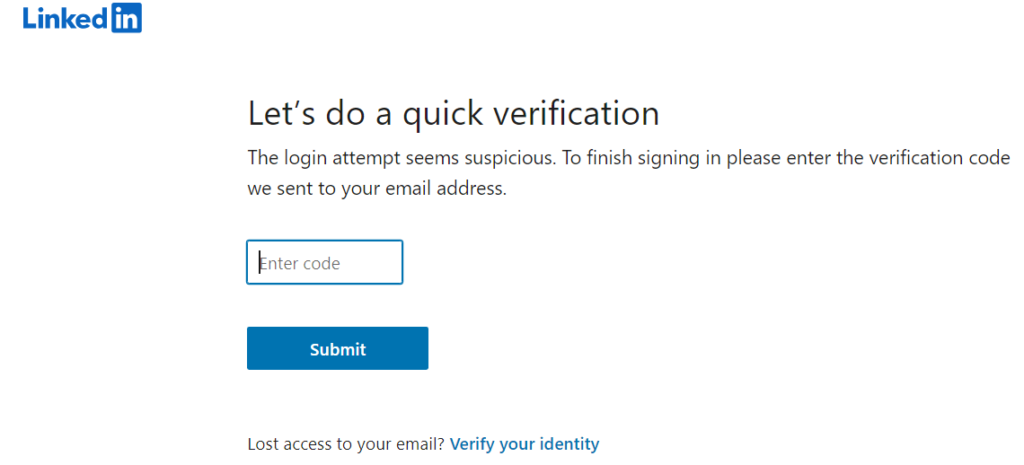
At this point, LinkedIn may challenge and request a code. This is a good thing. Have your client provide the code sent to their email.
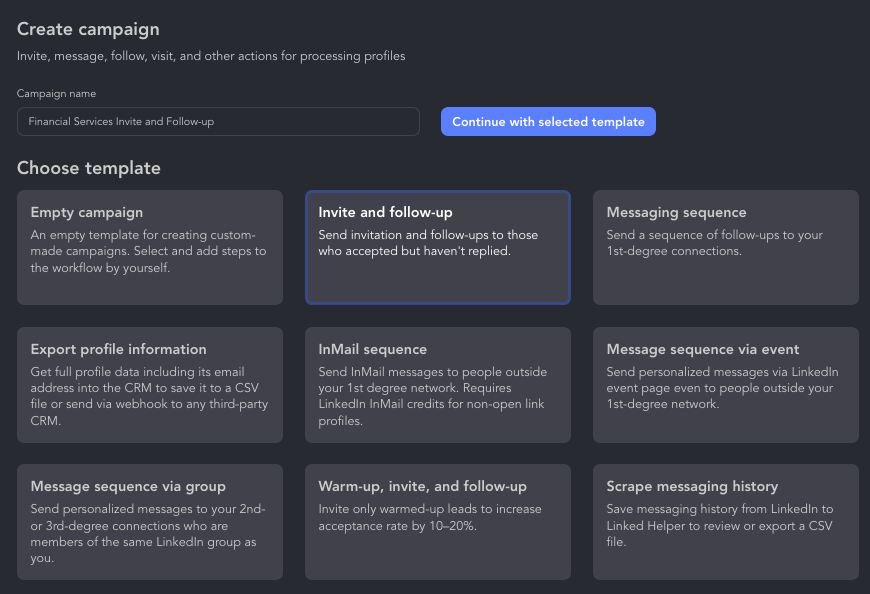
Select campaign from the left navigation. You’ll now see templates. Select Invite and follow-up, then click Continue with selected template. Watch this video to learn the basics: https://www.youtube.com/watch?v=tBKdkh0FWzI&t=7s
Here are some other options:
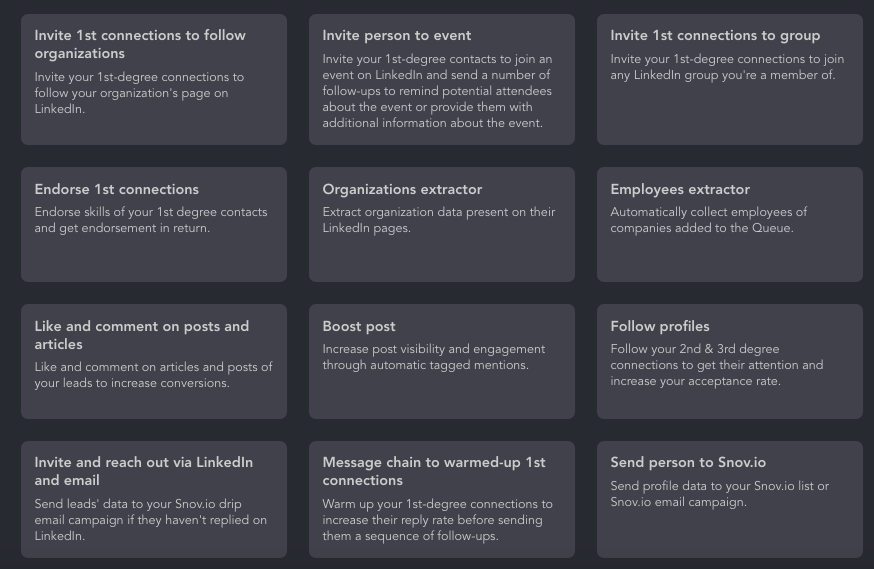
And a few more:

Step 1 – Engage With New Target Connection Profiles
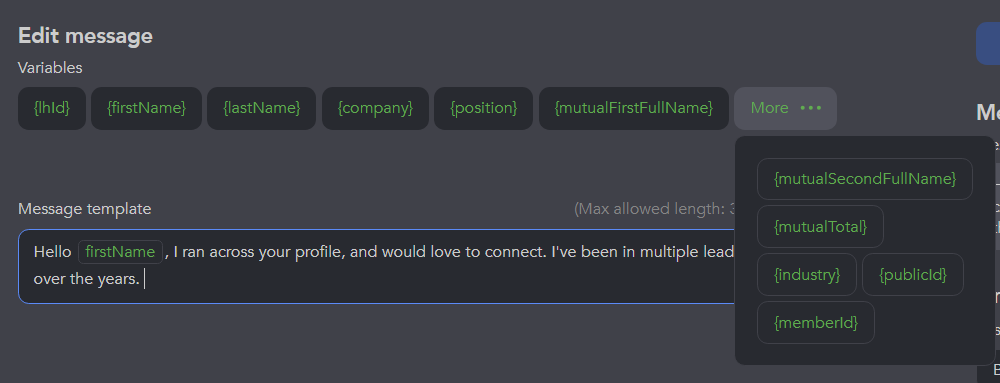
Edit your connection request message. In this case, we’re targeting financial services professionals to connect with. Use the {firstName} variable.
Example:
“I ran across your profile looking for financial services professionals to connect with. I share insights frequently here on LinkedIn which I hope you find useful.
Cheers!”
You can add other variables as well that might increase your chances of getting an accept. For instance, if you said, I’ve worked with many clients in the XYZ {industry}, it may resonate with your potential new LinkedIn connection.
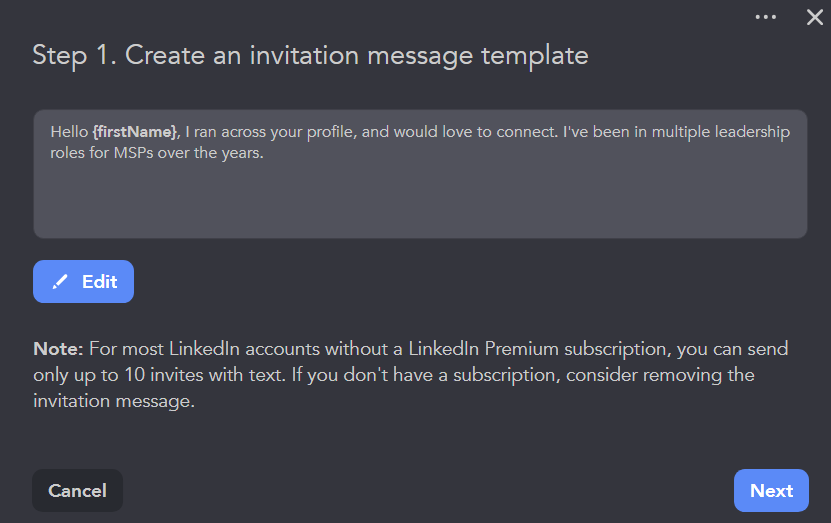
Linked Helper reminds you that without a Premium or Sales Navigator subscription, you’ll be limited in the number of connection requests you can send per day. Click next.
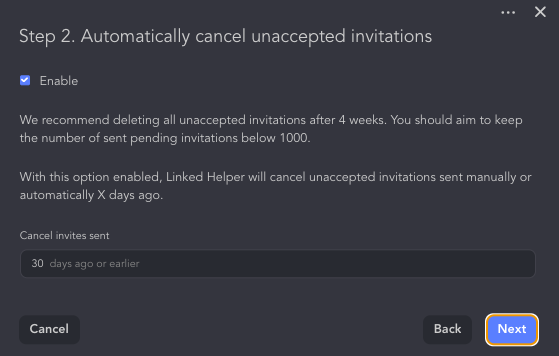
Stay with the default 30 days to cancel a connection request. It has an effect on your LinkedIn reputation the more unaccepted requests you have floating out there unaccepted. Click Next.
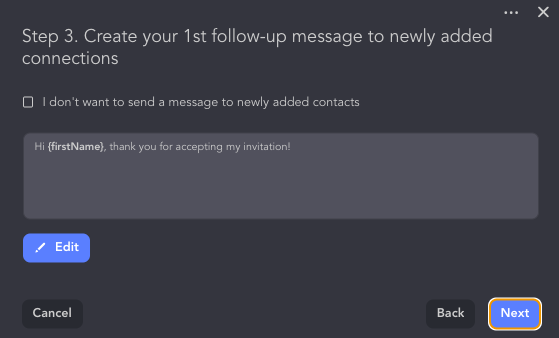
Write your follow-up message to newly added connections. In this case, since we’re connecting with financial services professionals, we’ll say:
“Hi {firstName}, thanks for connecting! I post frequently here on innovation happening in the financial services space, and I’m looking forward to sharing relevant content with you and vice versa.”
Click Save and Close, then Next when you’re done.
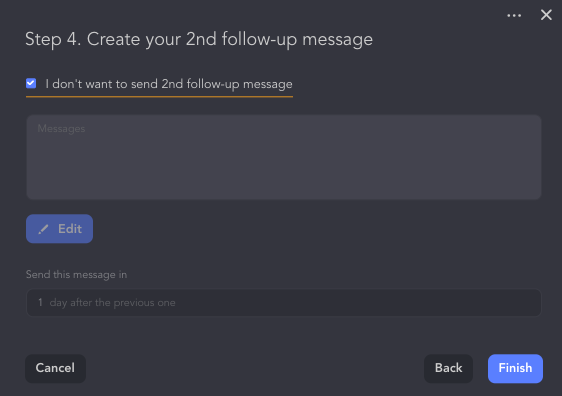
You now have the choice to add a second message, but we’ll check the box I don’t want to send 2nd follow-up message, since we’re aiming for a much more personalized 3rd message based on their work history, educational background, or something else we might be able to share of relevance to them.
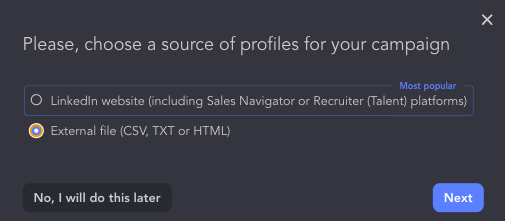
You’ll now be prompted to add profiles to your campaign. Click Continue.

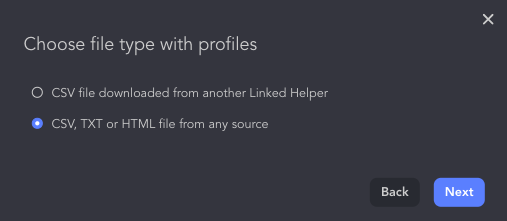
Since we’ve pulled LinkedIn contact data from Apollo.IO and exported it in .csv format, we’ll choose External file (CSV, TXT, or HTML) and click Next.
Choose from any source
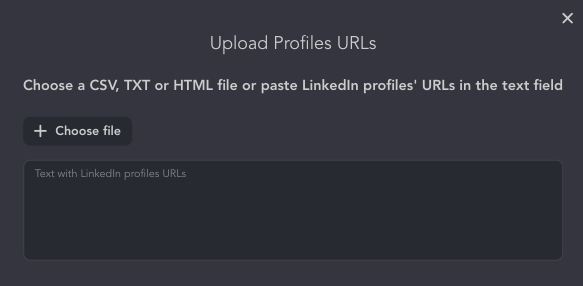
Click choose file
Click review campaign
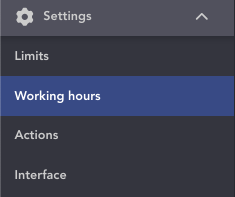
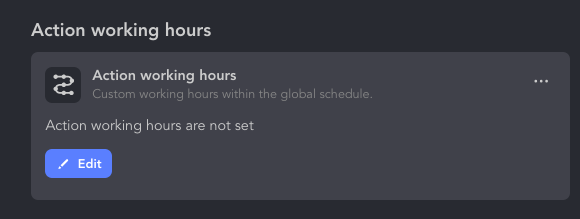
Edit the working hours by going to Settings > working hours
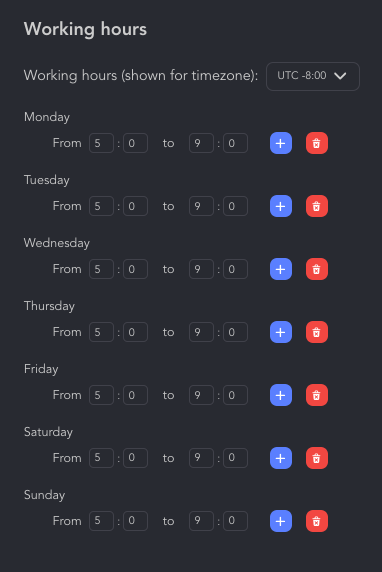
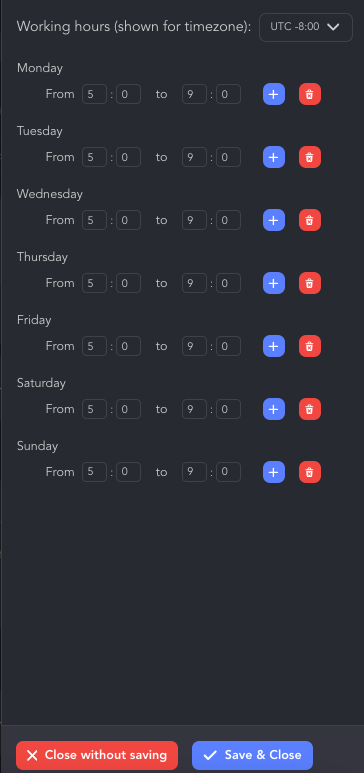
Set the working hours you’ve agreed to with your client. In this case 5 – 9 a.m. Monday through Sunday. Even though we’re using a proxy through Bright Data, LinkedIn still does not want to see multiple logins sending connection requests at the same time from different devices.
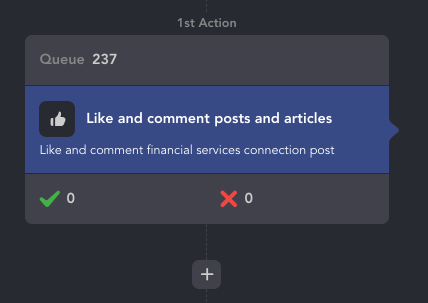
Now we’re going to edit the campaign with a warmup stage. It’s a best practice to warm up a potential connection with a like and a comment on one of their posts. Scroll to the top of the workflow and click the + sign
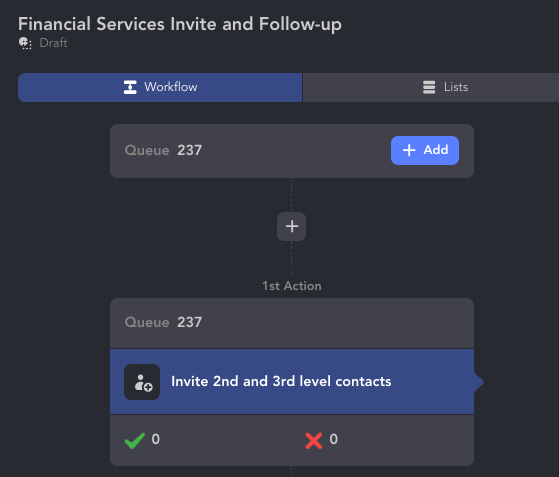
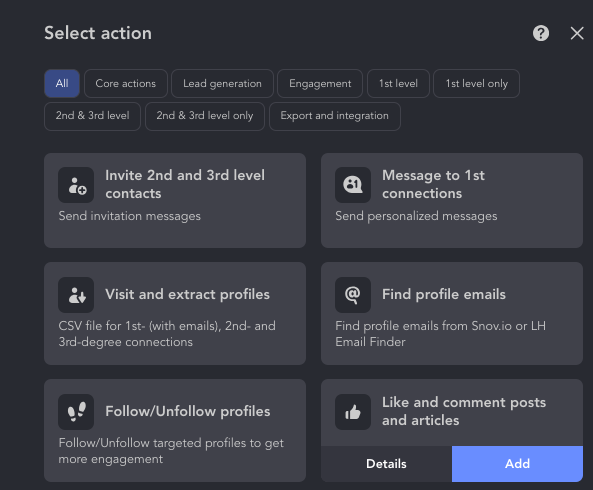
Select Like and comment posts by clicking Add
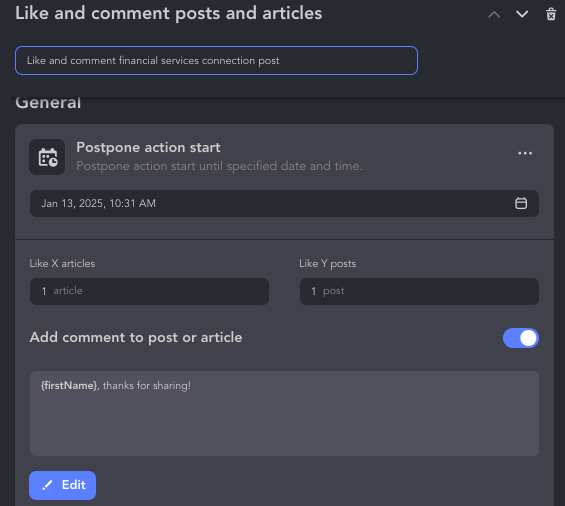
Name your like and comment action, and add your message. Reduce the number of Like X articles and Like Y posts from 2 to 1. Slide the slider to the right, and add your comment.
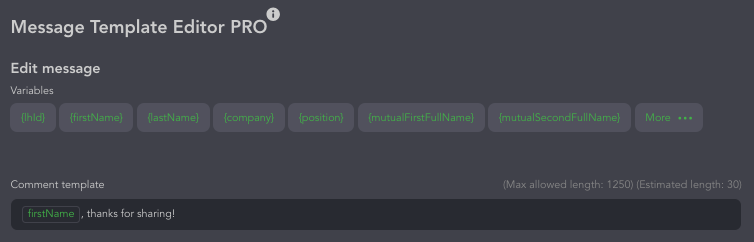
If you need some ideas for generic comments that work for any warm up, here are a few generic comment templates:
Encouraging Insight: Great post, {FirstName}! Thanks for sharing your perspective.
Acknowledging Effort: Very insightful, {FirstName}. I appreciate the effort you put into sharing this.
Starting a Conversation: Interesting points here, {FirstName}!
Complimenting Content:Thanks for sharing this, {FirstName}!
Engaging Thought Leadership: Great perspective, {FirstName}! Your take on this is worth evaluating further.
General Appreciation:{FirstName}, this is such a great share! I always enjoy seeing your take on things.
Celebrating Wins or Updates: Great update, {FirstName}! Very inspiring to see your work in action.
Acknowledging Value: Your posts are insightful. Thanks for putting this out there!
Engaging Curiosity: Interesting point, {FirstName}! What inspired you to share about this topic?
Simple Appreciation: Thanks for sharing this, {FirstName}!
We’ll go with the default for this first round, but it’s a best practice to rotate so LinkedIn doesn’t think you’re a bot.
It’s also a best practice to add a delay after your like and comment. Click the + sign.
Edit the working hours. We tell our clients we will be using their LinkedIn accounts from 5 a.m. to 9 a.m. Pacific 7 days a week. Click Edit.
Click Save & close.
We want to pause the activity between liking and commenting a post and sending a connection request for one day, so click the plus sign.
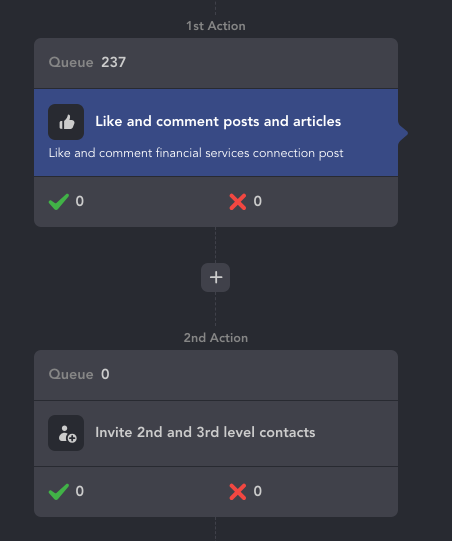
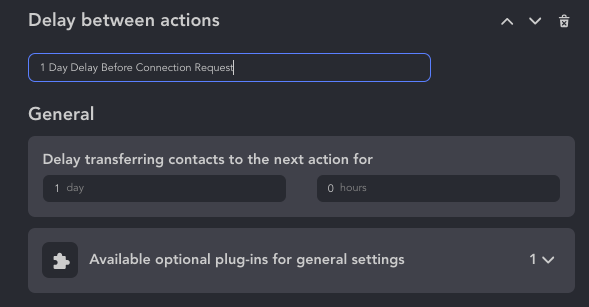
Choose Delay between actions by clicking Add
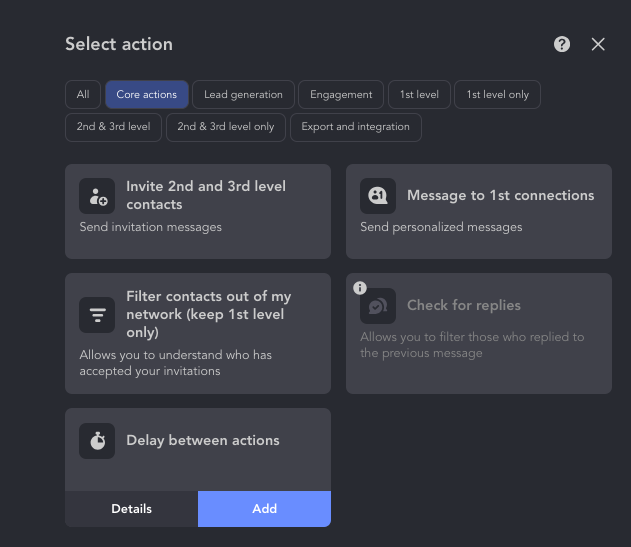
Choose a one day delay and name it 1 Day Delay Before Connection Request.
Now that your connections are in que, click the Start button in the upper right.
